

How to create your own duotone web icon font using Glyphs App

working on the front end to build fantastic user interfaces and deliver a top notch user experience.
What are the duotone icons ?
We all know what a traditional single color web icon font is, but a duotone font is a completely different type of font that has two contrasting colors instead of one color. Fontawesome recently introduced their duotone icon font check it out here for full details about duotone icon fonts
The main technique behind duotone icons
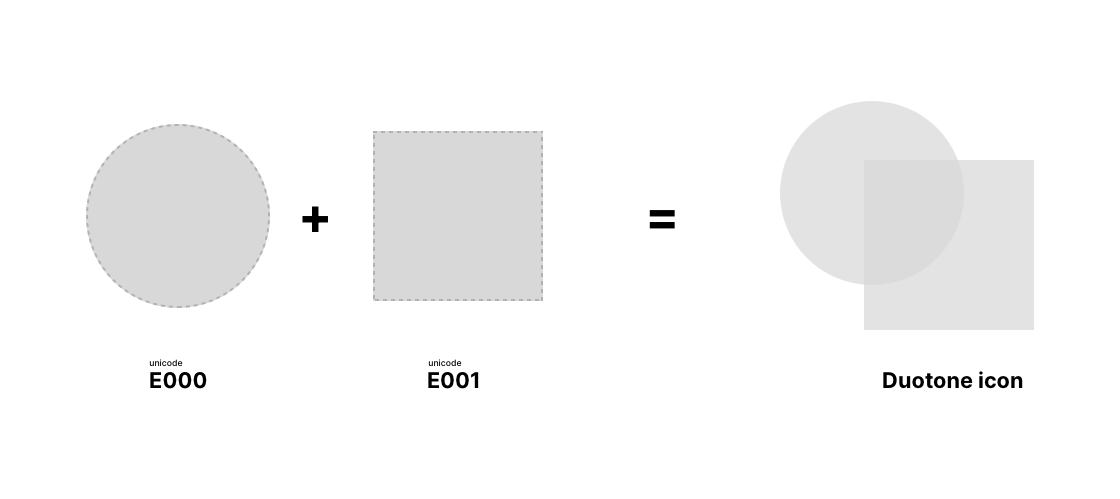
For instance, A + B = AB . So the main technique to create this is to layer two Unicode characters on top of each other using CSS.
Let's start creating our first duotone icon font
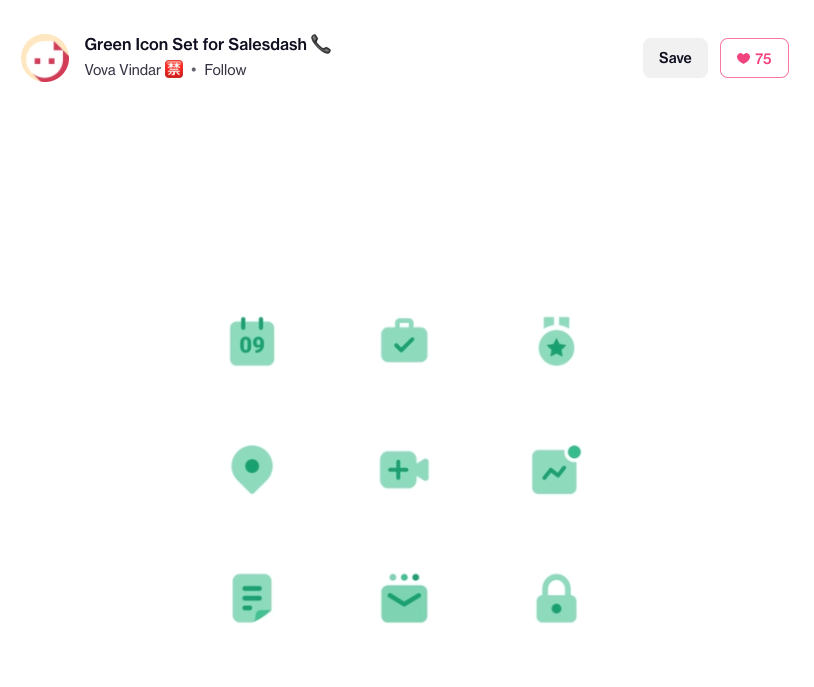
I found a perfect duotone design on Dribbble to start making our font.
The very first step
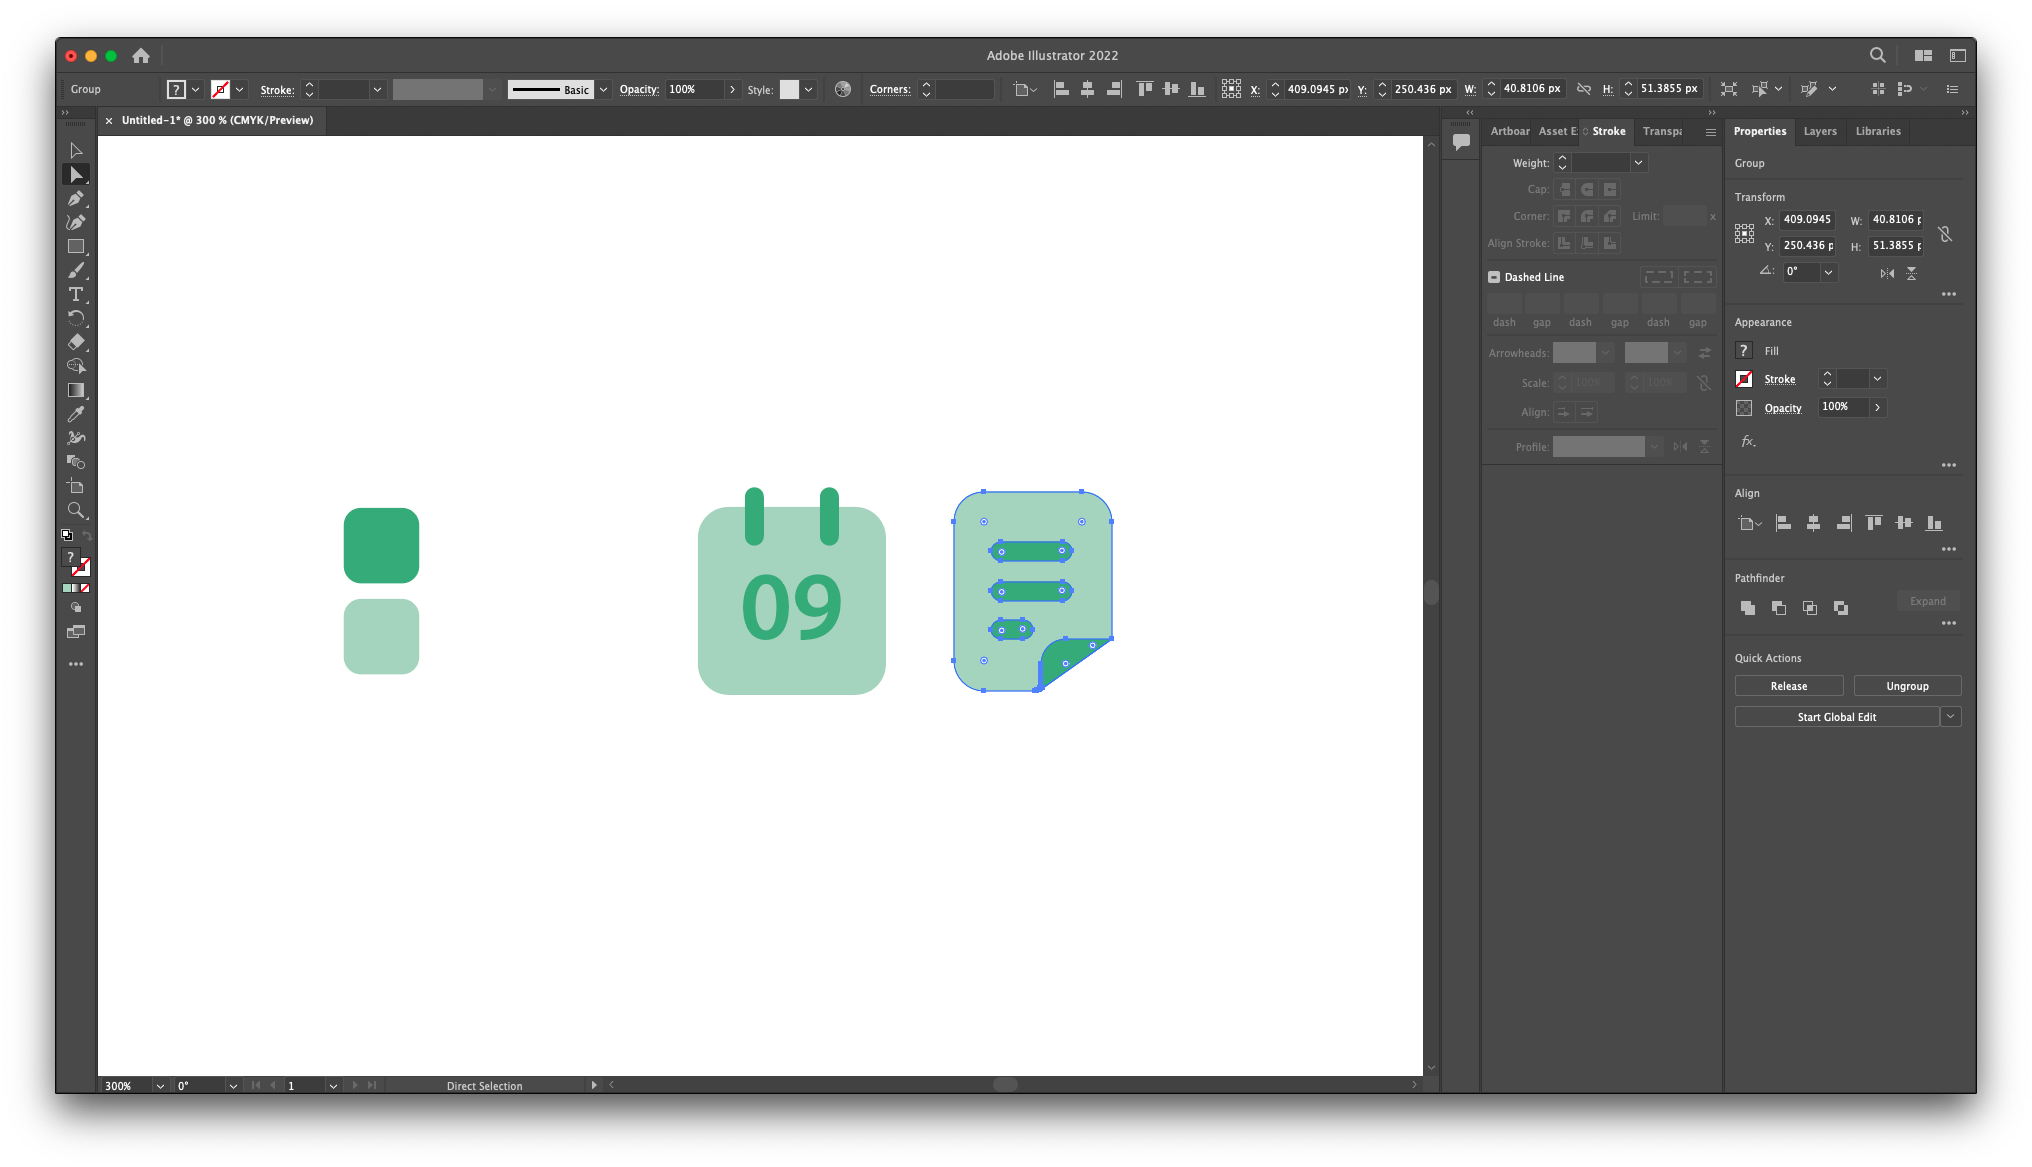
The first step is to convert some selected icons from the icons in the Dribbble shot to vector format using illustrator.
Second step (Glyphs app)
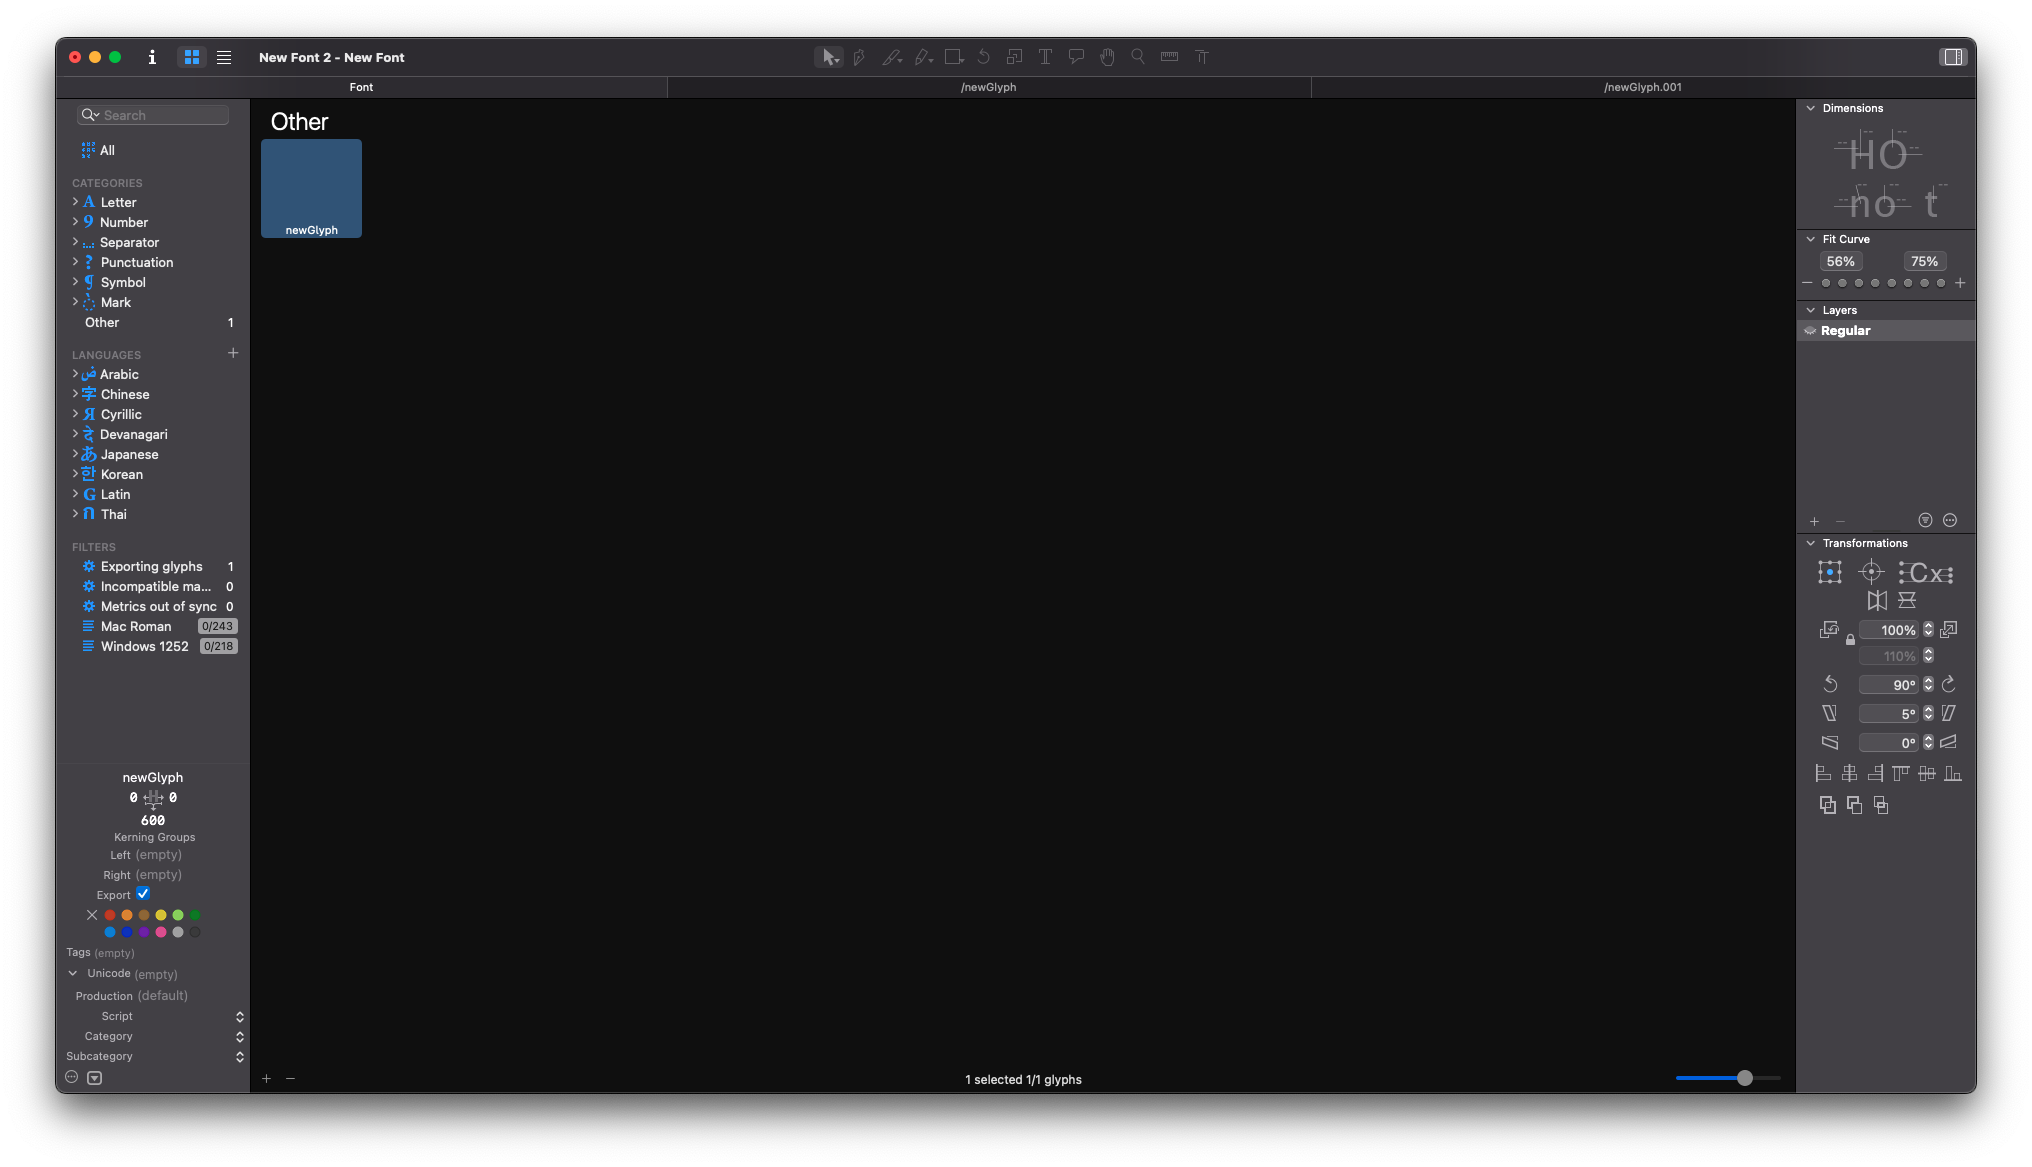
From now on, all things should be done through the Glyphs app. Open the Glyphs app and remove all digits, numbers and special characters.
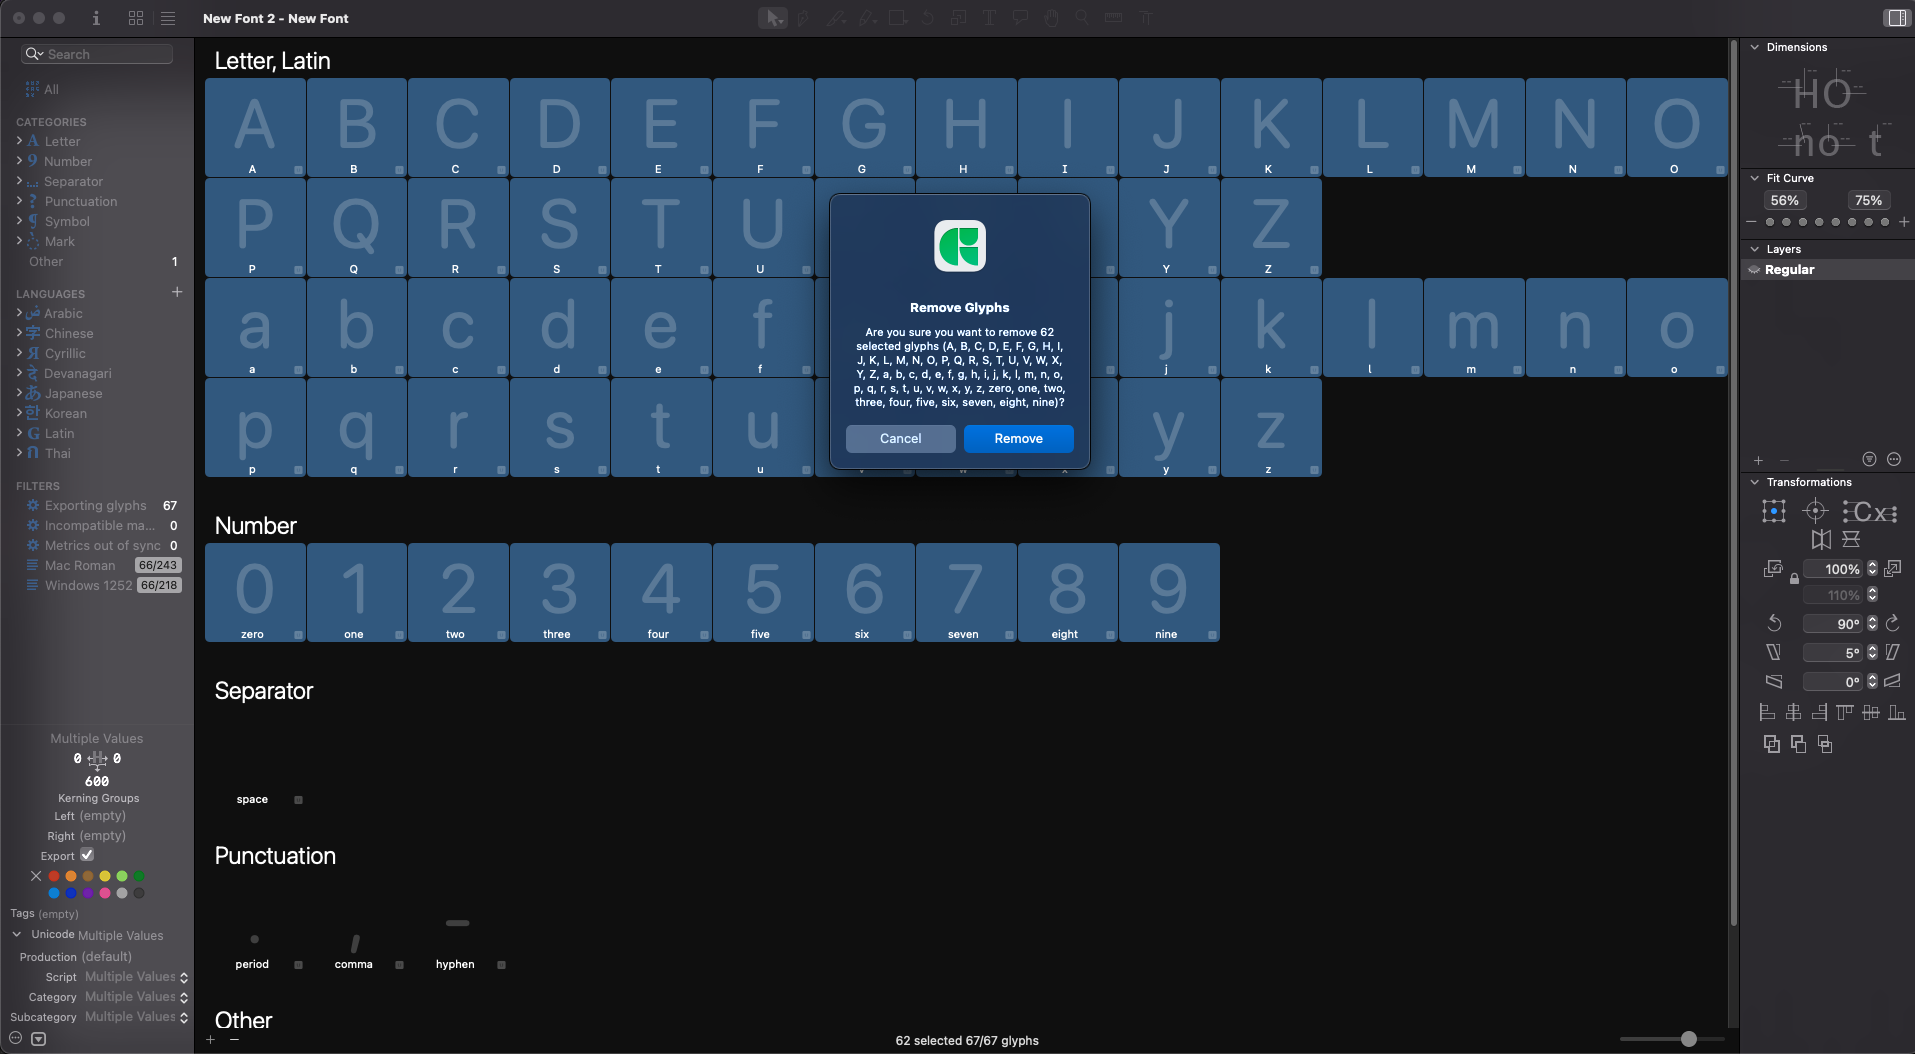
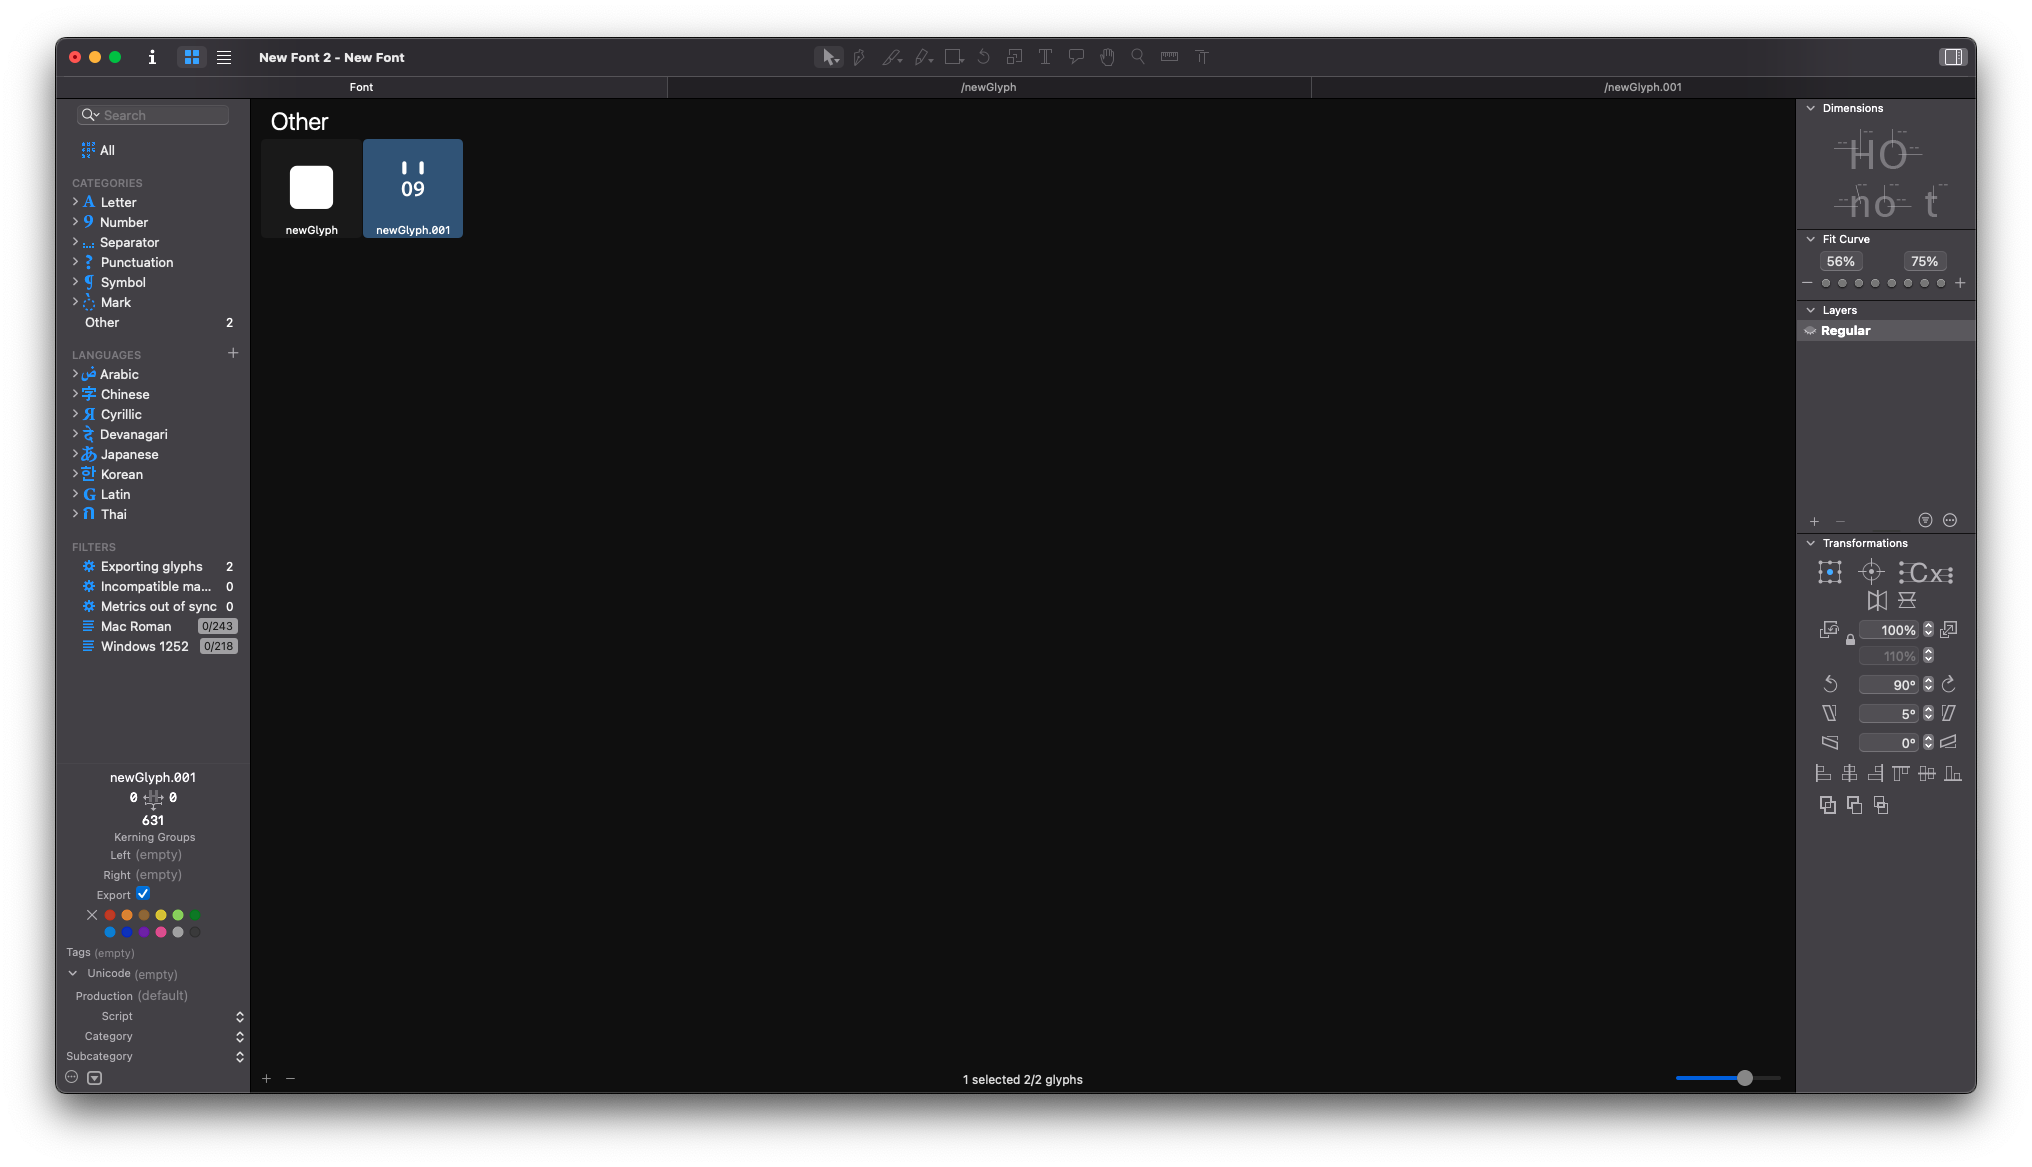
After removing the digits and numbers, we need to create a new glyph.
Next, copy one of the icons designed by Illustrator and paste it into the glyph.
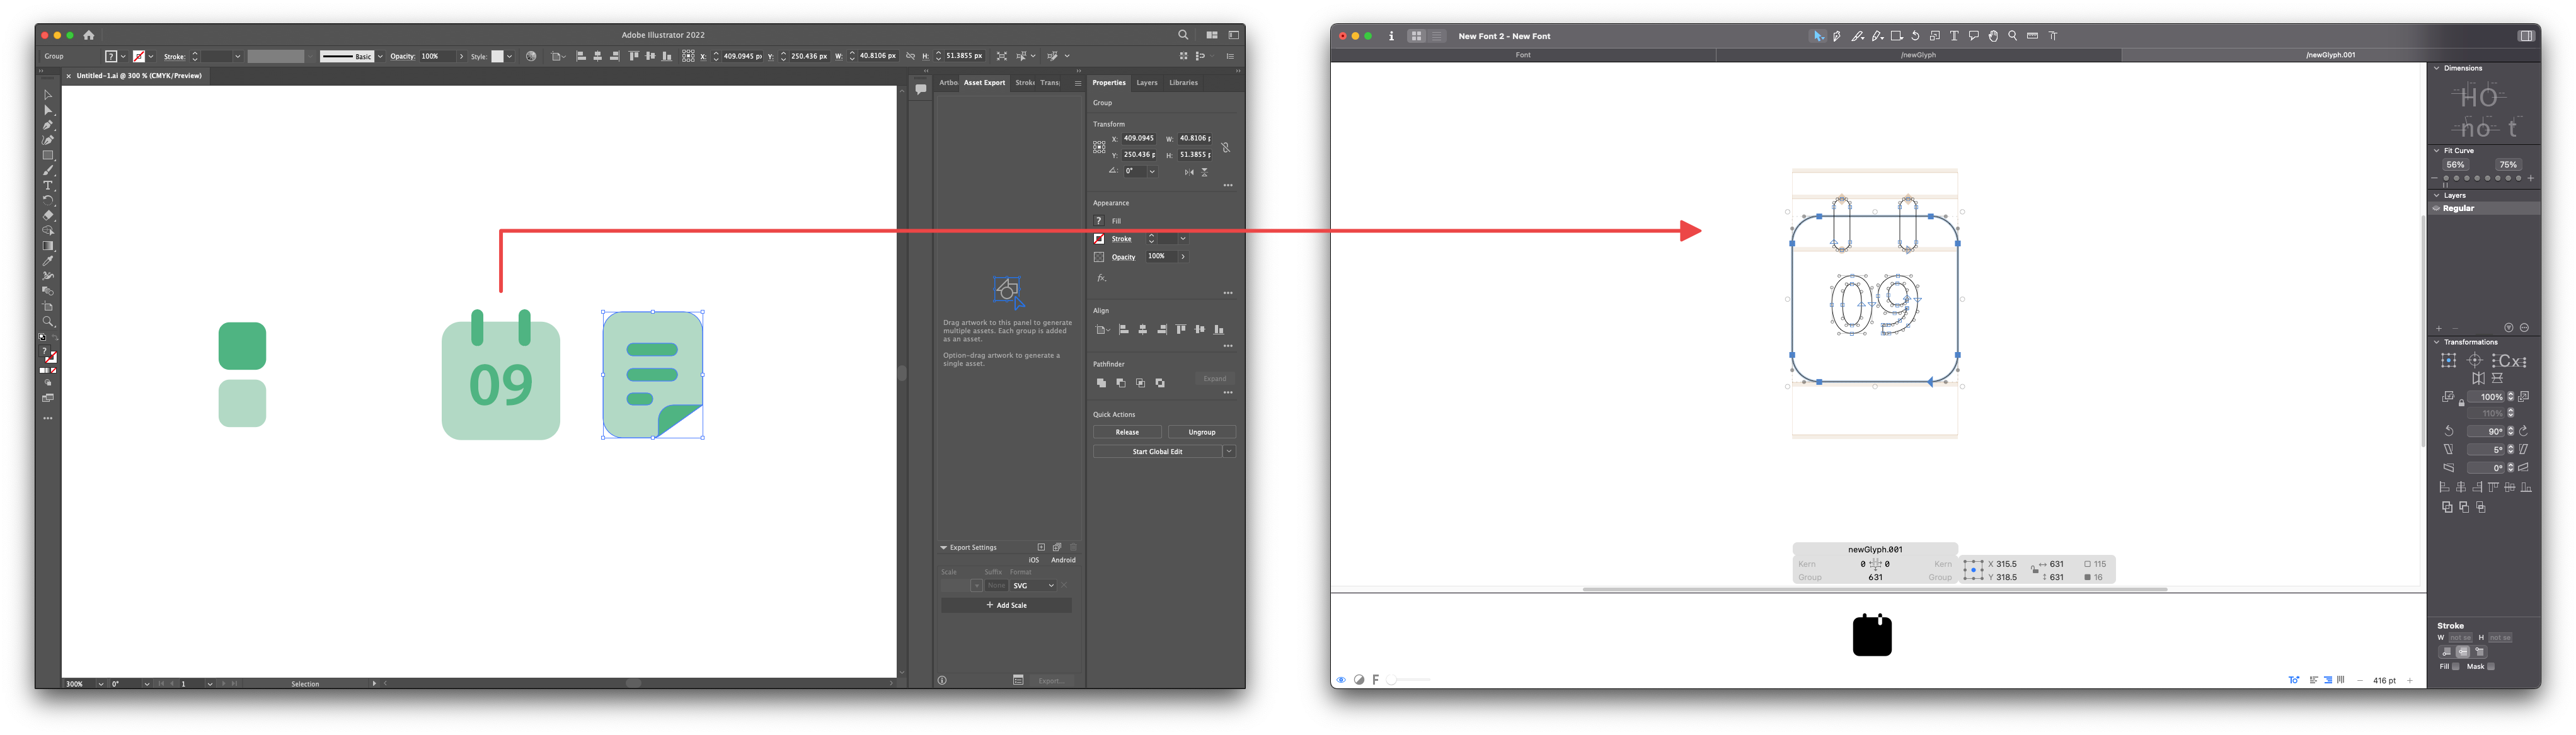
Now we need to duplicate our Glyph

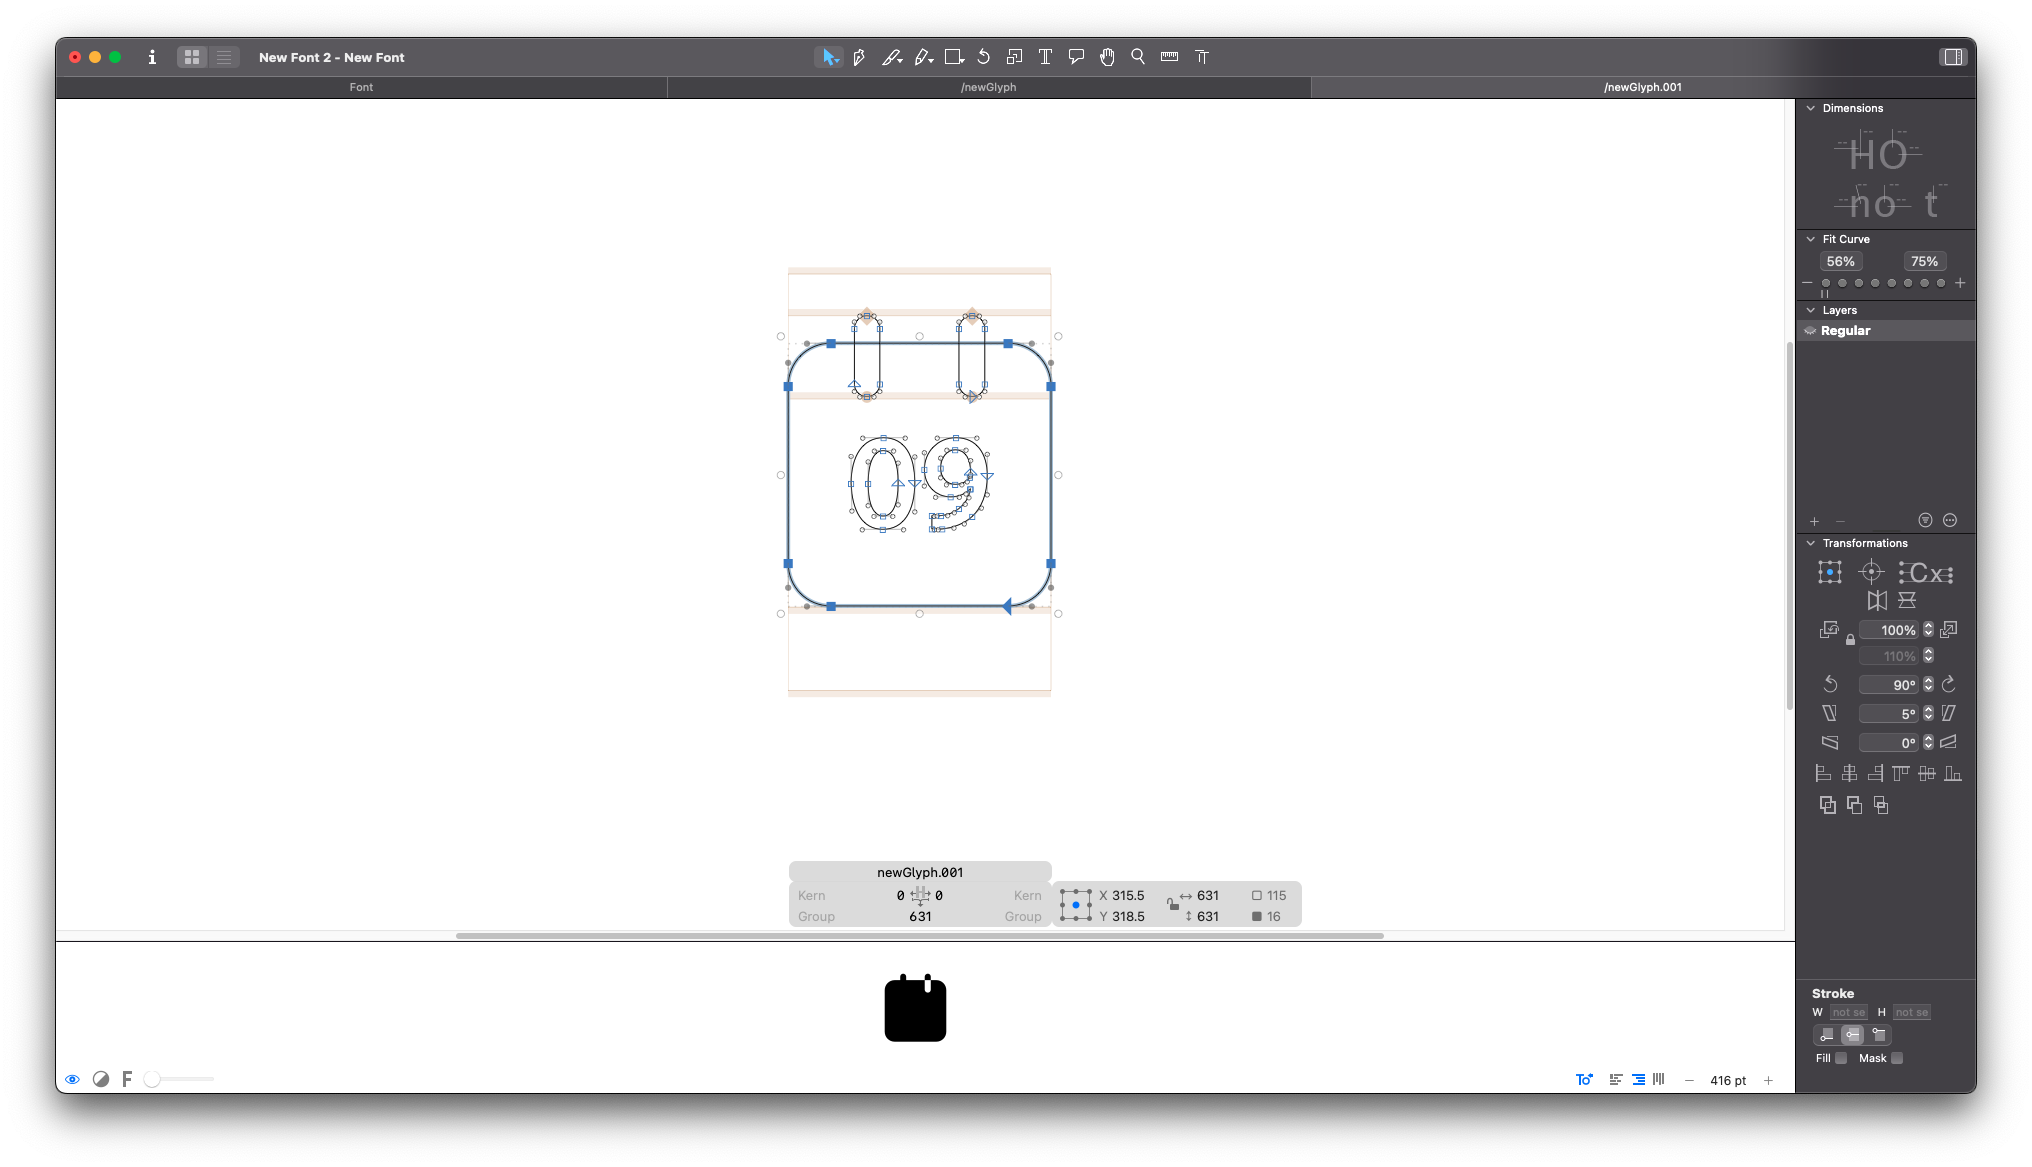
This part should be done very carefully. We need to carefully separate the two parts that we want to show in two tones.

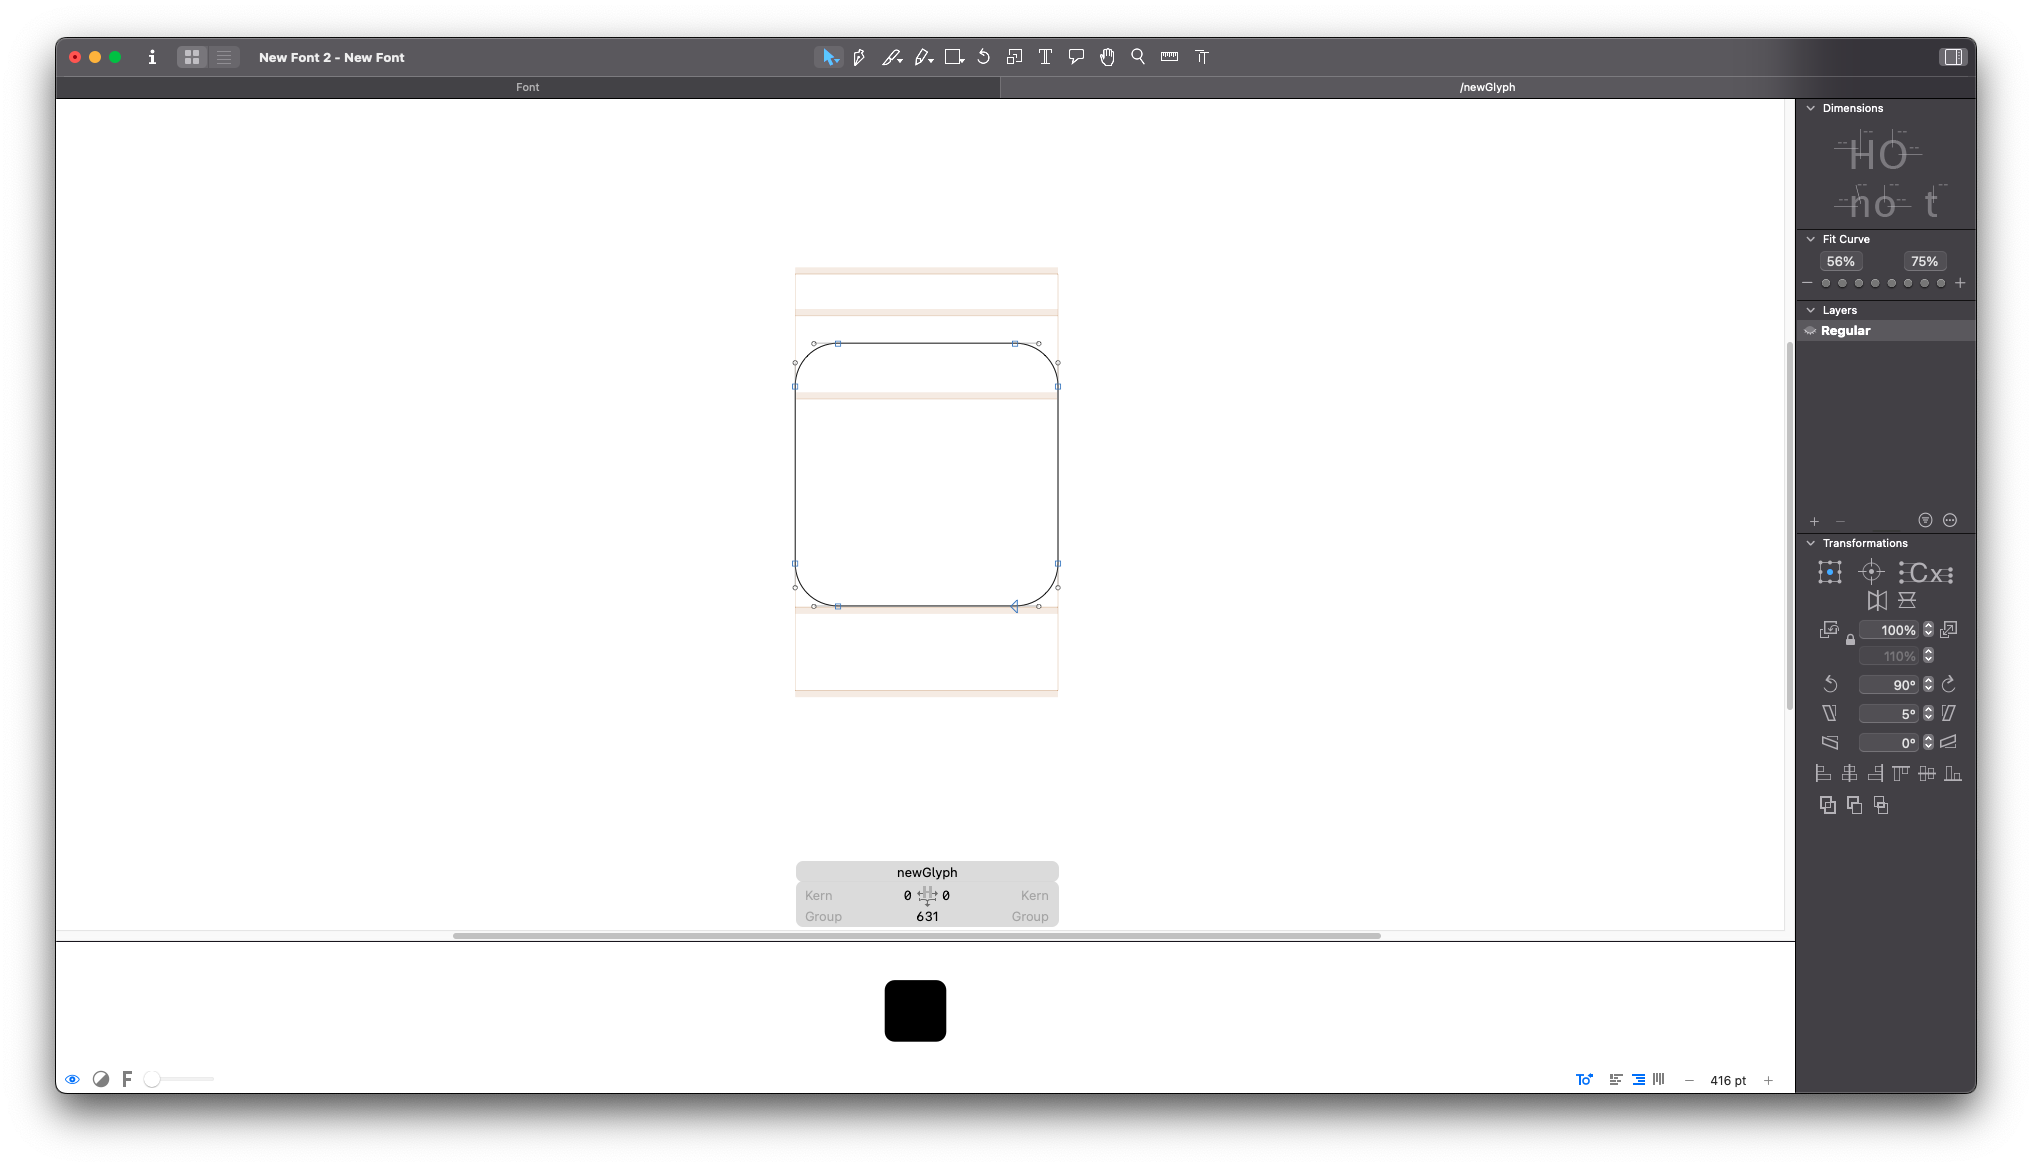
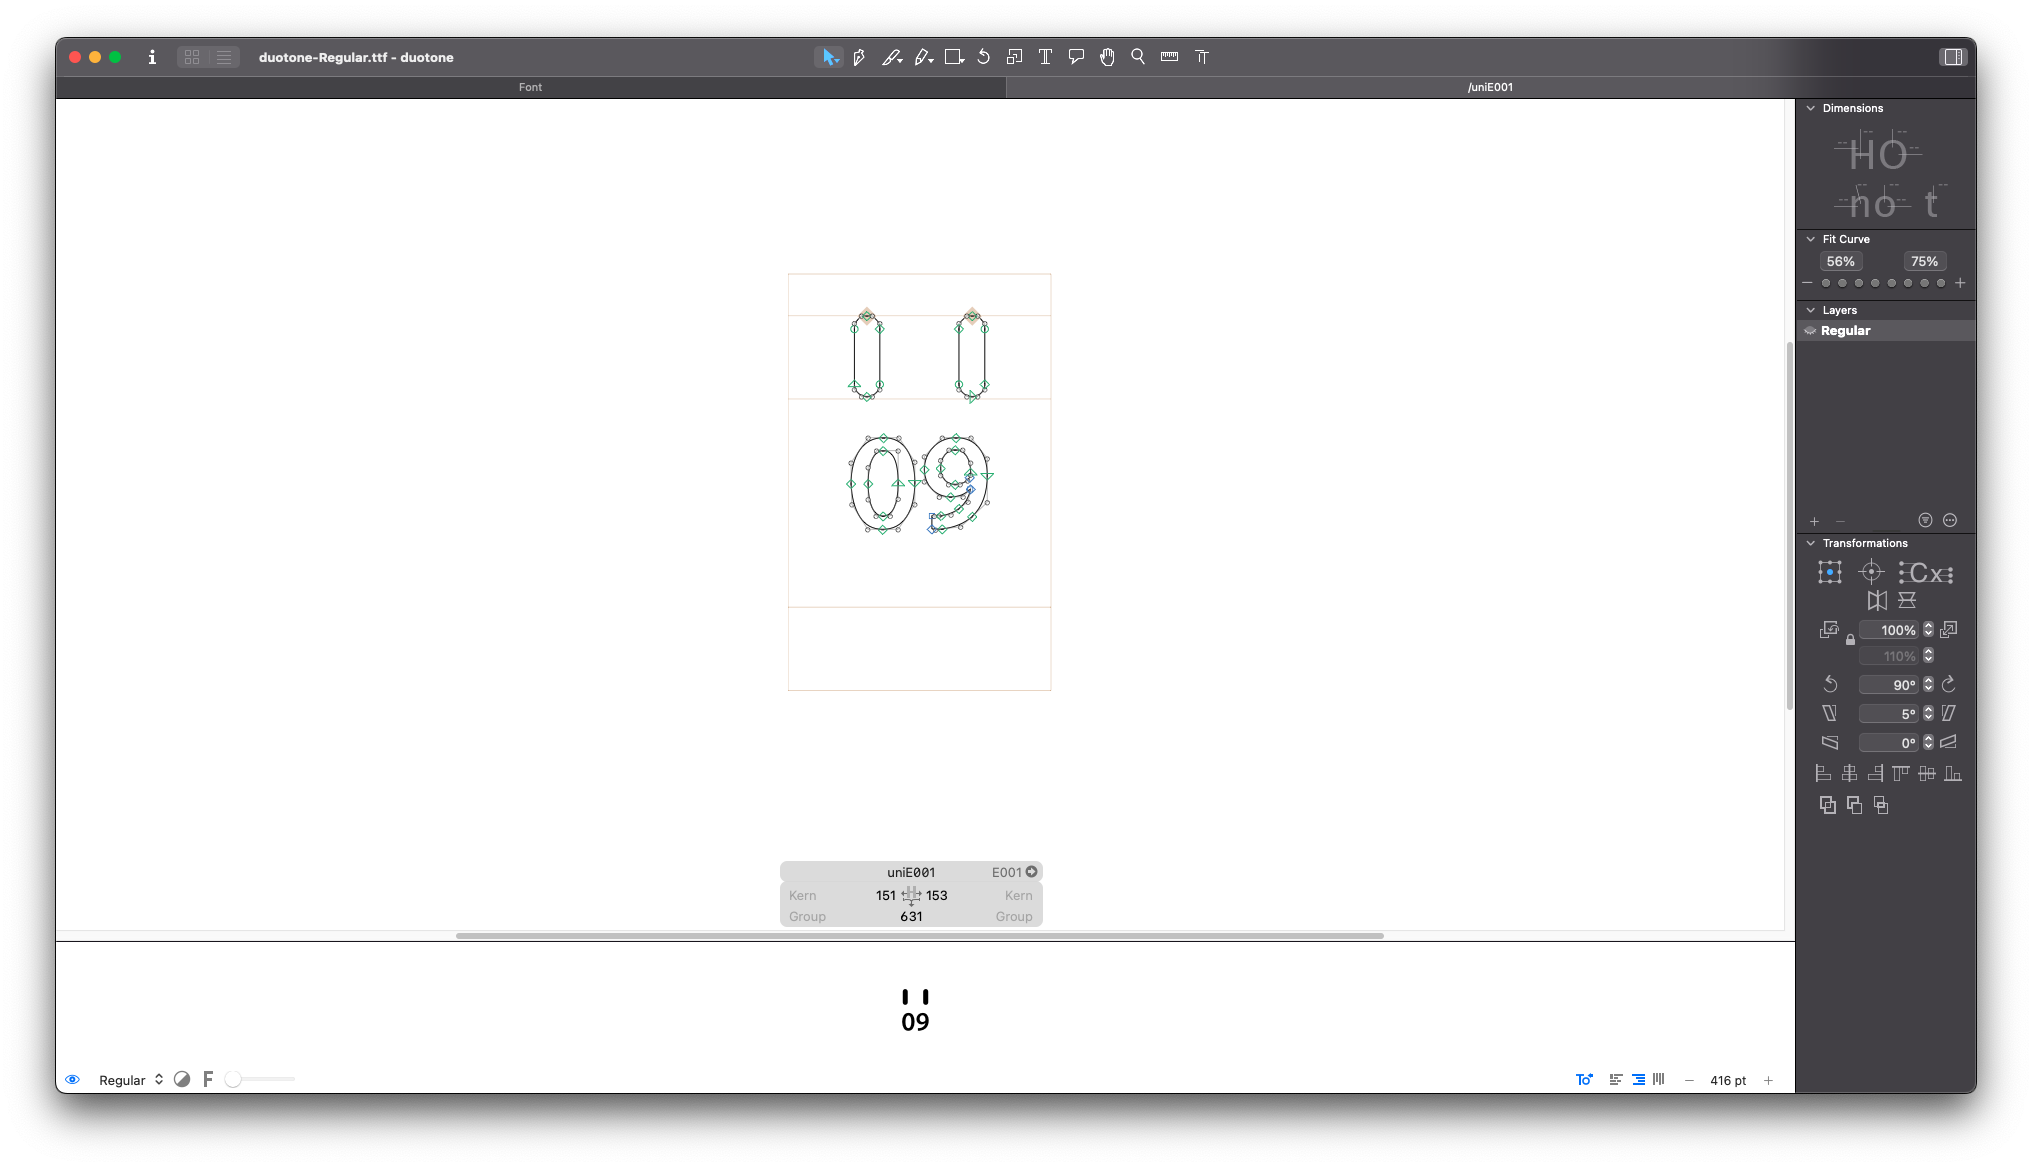
After removing the unwanted tone, it should look like this.
Private Use Areas (PUA)
A private use area is a freely available Unicode range that is not assigned. We can use this for personal use. Read more about this here.
You can know about Unicode range of Private Areas from here
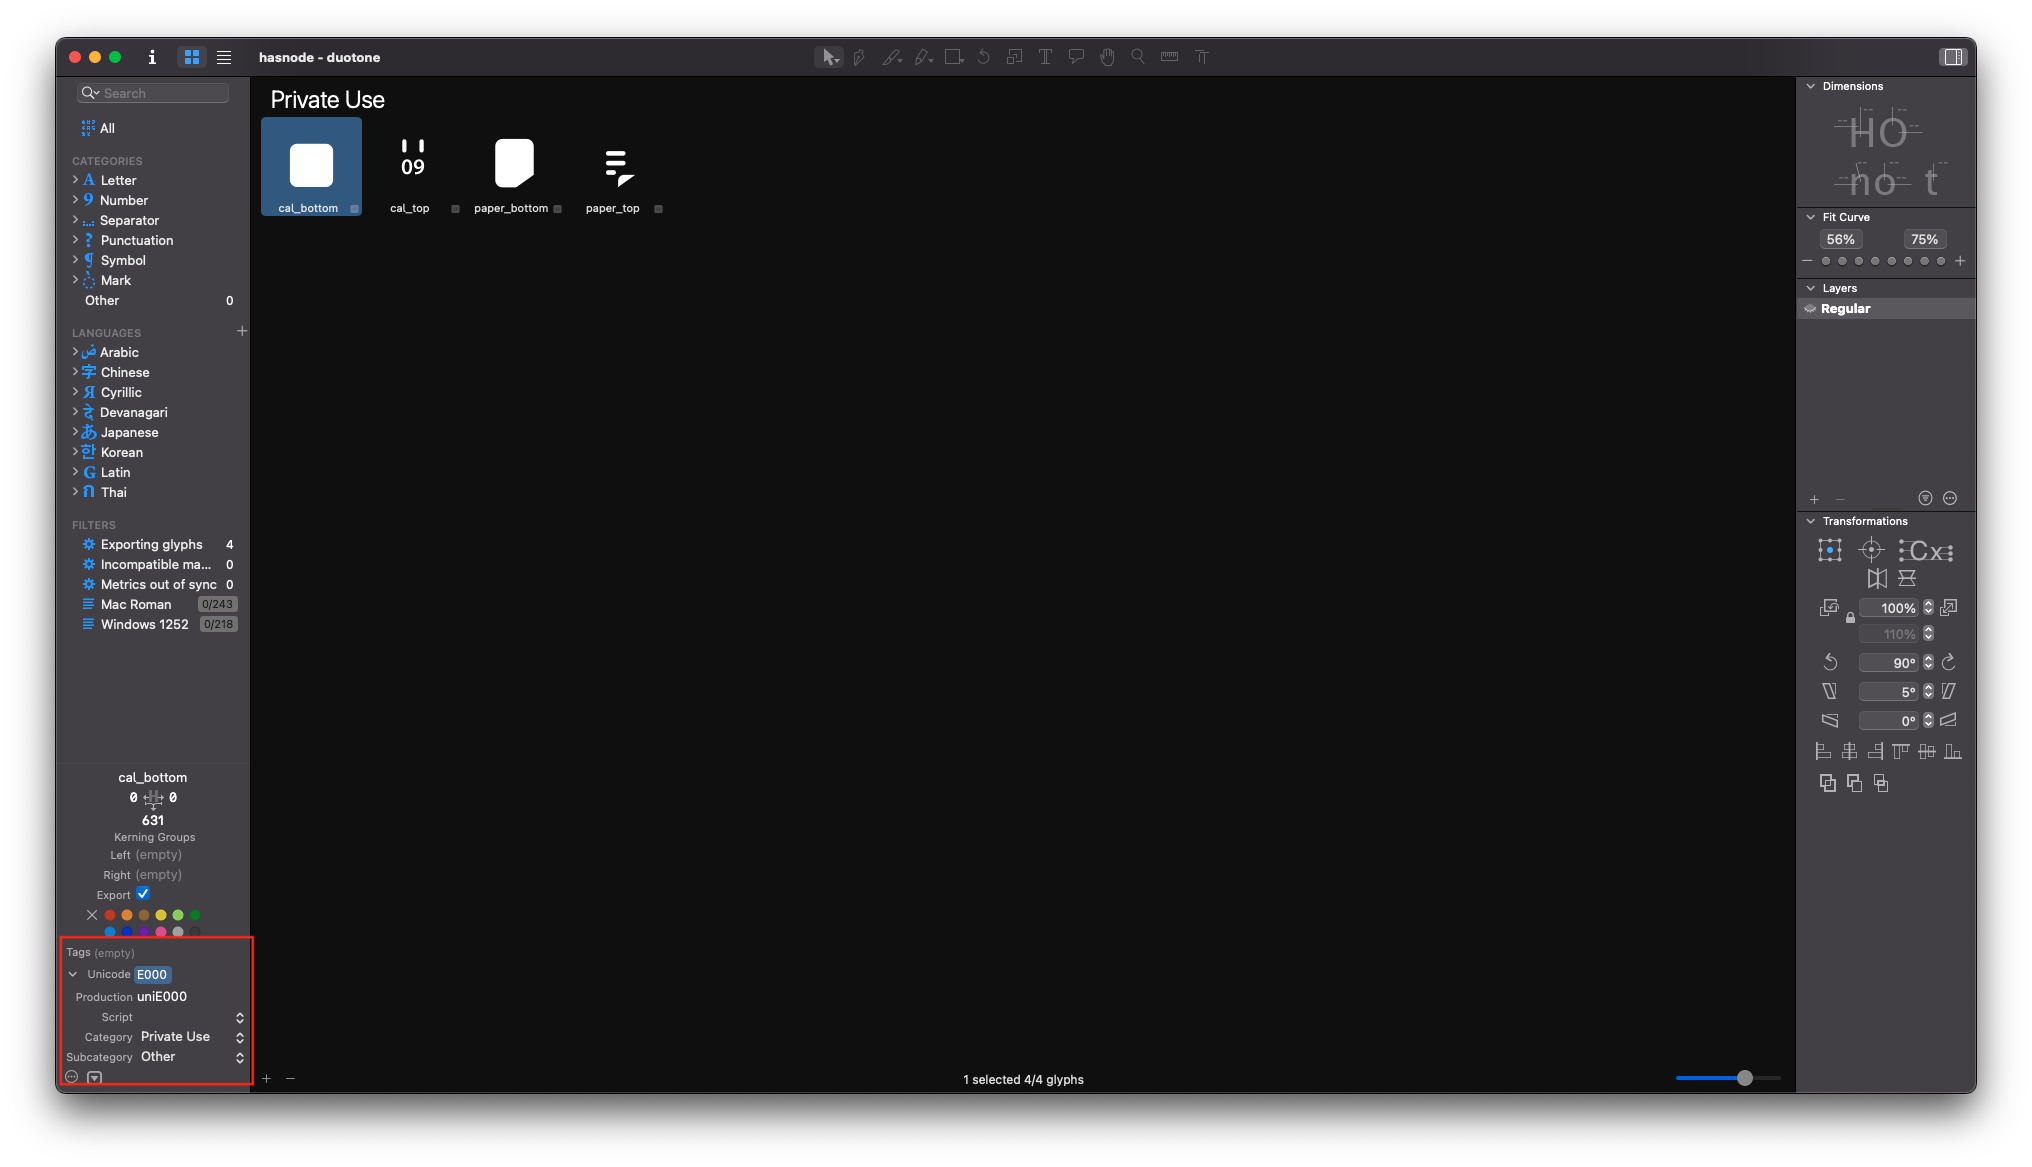
The private use areas range is from U+E000 to U+F8FF
Unicode assigning
Since the range of Private Use Areas starts at E000, we assign E000 Unicode to our first glyph.
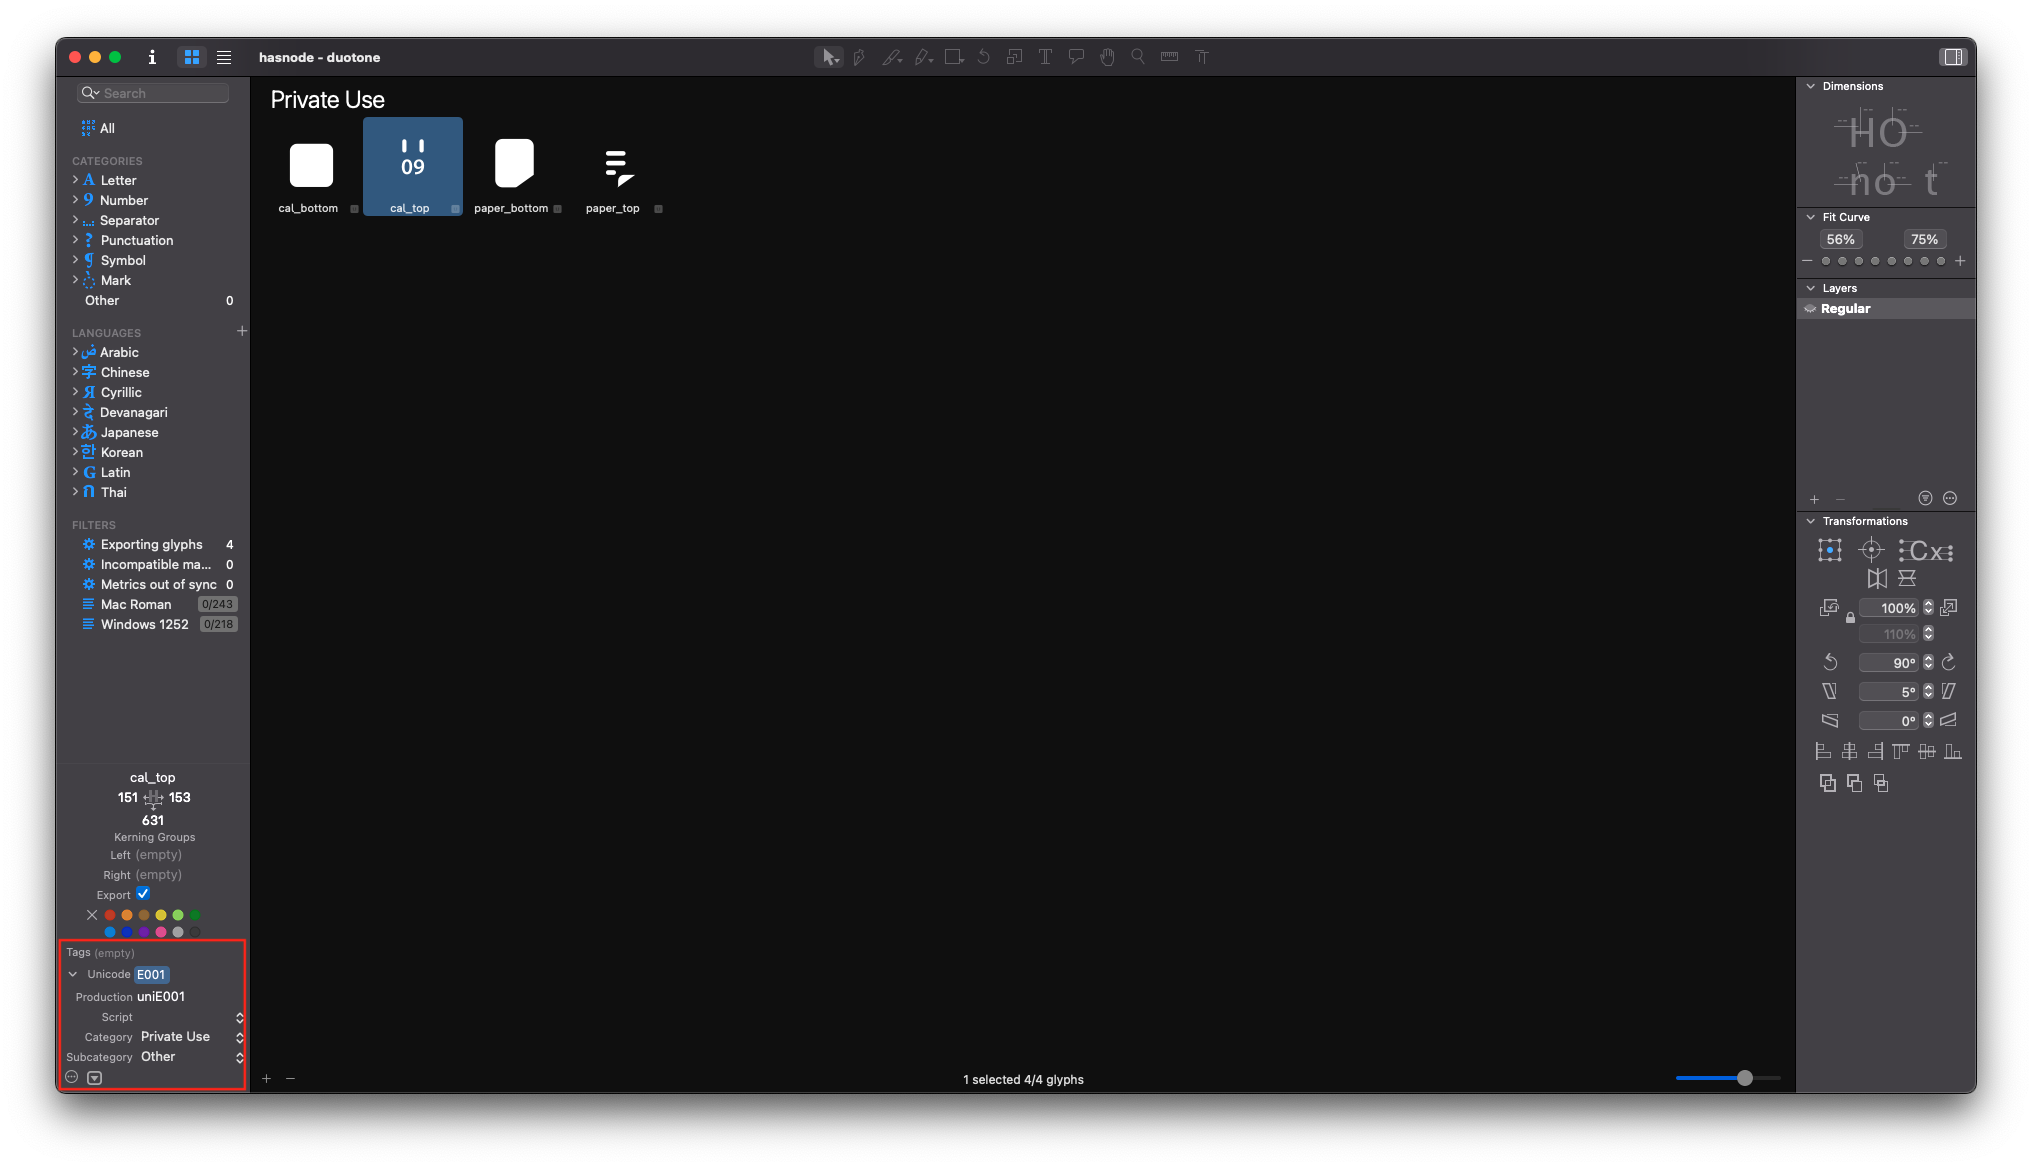
And for the second glyph, let's assign Unicode E001. 👇
If you added more icons, assign the Unicodes accordingly.
Now let's export the font
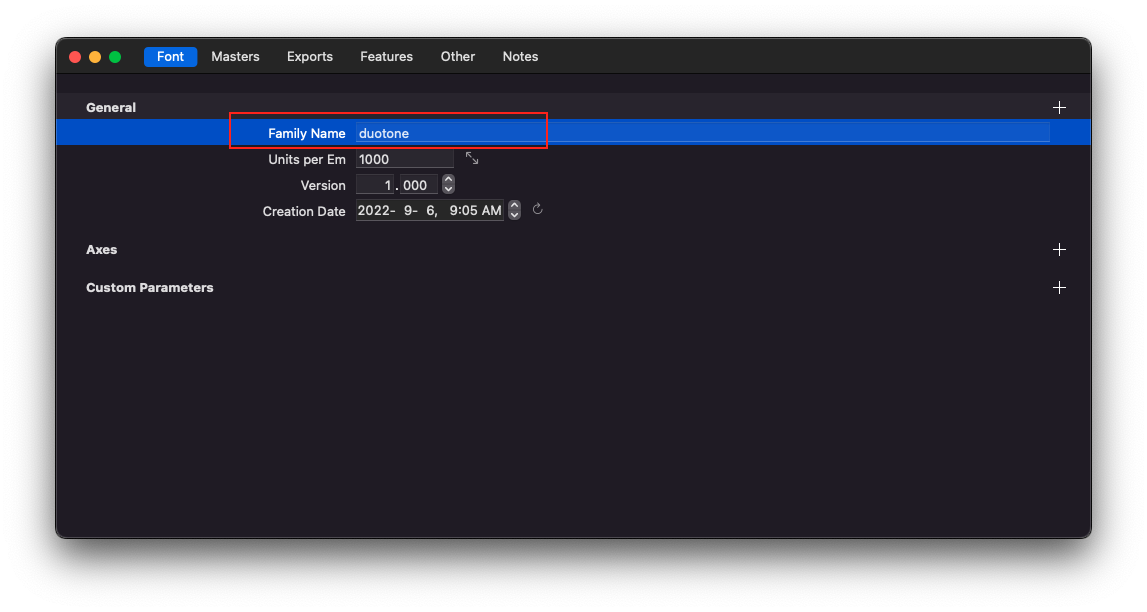
Add a proper family name to the font first to export.
then let's export the font. Make sure to add a check mark to the WOFF and WOFF2.

The third step ( implementation)
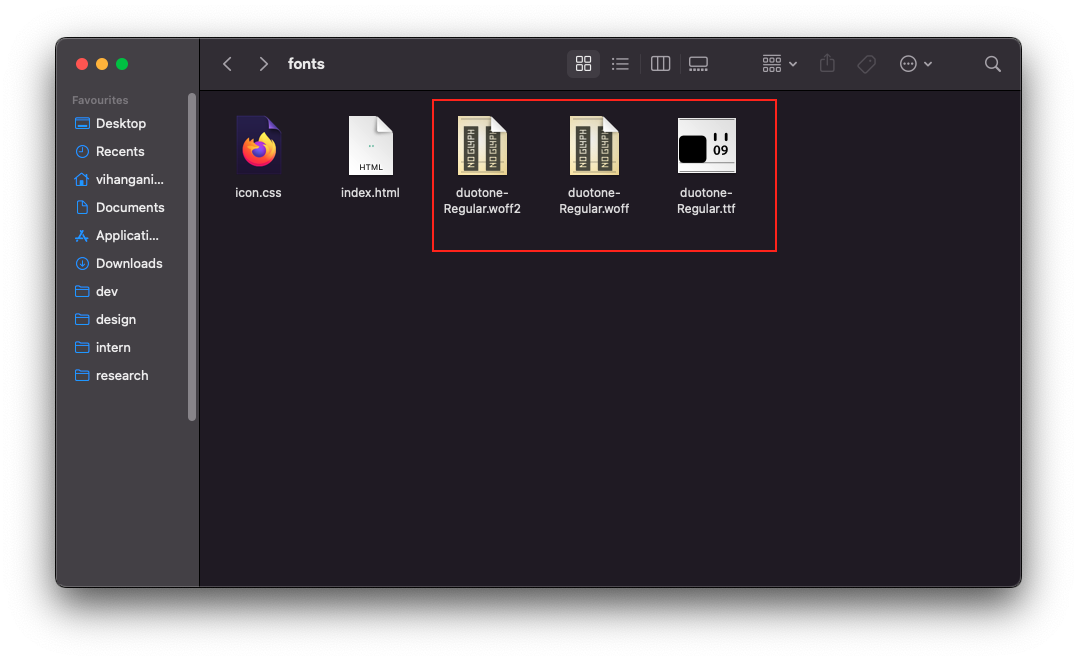
Now we are ready to implement our icon font After exporting the font, we can see three files like this
WOFF
WOFF2
TTF
Let's open these three files with vs code to implement the icon. Then two files should be created as index.html and main.css .
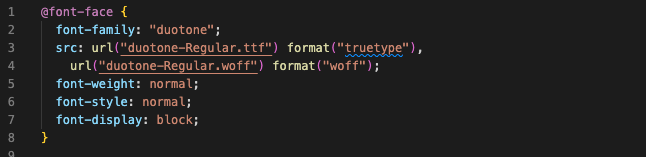
We need to add the exported font to the CSS file we can use css @font-face
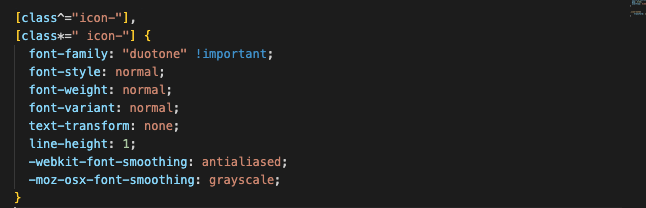
After adding the font files, we need to add our font family to the icon class.
This is another important step. Now we need to use the Unicode used when creating the font. What we're going to do in this step is layer our separated icon pieces on top of each other. For that, we are going to use absolute positioning.
Here we use CSS variables to assign the colors and opacity is used to achieve the duotone effect. Full CSS source code 👇
@font-face {
font-family: "duotone";
src: url("duotone-Regular.ttf") format("truetype"), url("duotone-Regular.woff") format("woff");
font-weight: normal;
font-style: normal;
font-display: block;
}
[class^="icon-"], [class*=" icon-"] {
font-family: "duotone" !important;
font-style: normal;
font-weight: normal;
font-variant: normal;
text-transform: none;
line-height: 1;
-webkit-font-smoothing: antialiased;
-moz-osx-font-smoothing: grayscale;
}
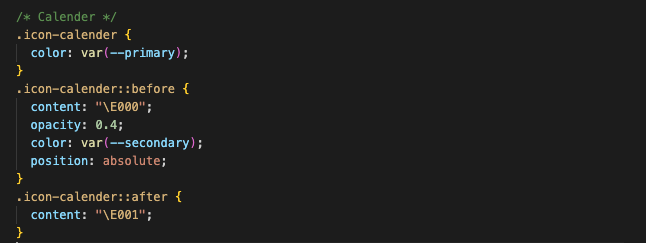
/* Calender */
.icon-calender {
color: var(--primary);
}
.icon-calender::before {
content: "\E000";
opacity: 0.4;
color: var(--secondary);
position: absolute;
}
.icon-calender::after {
content: "\E001";
}
/* Note */
.icon-note {
color: var(--primary);
}
.icon-note::before {
content: "\E002";
opacity: 0.4;
color: var(--secondary);
position: absolute;
}
.icon-note::after {
content: "\E003";
}
now let's move on to the html part We can define our icon font like any other icon font, but we can apply the desired color with an inline style, so we can easily achieve the duotone effect.

Full HTML source code 👇
<!DOCTYPE html>
<html lang="en">
<head>
    <meta charset="UTF-8">
    <meta http-equiv="X-UA-Compatible" content="IE=edge">
    <meta name="viewport" content="width=device-width, initial-scale=1.0">
    <title>Duotone icon-font</title>
    <link rel="stylesheet" href="icon.css">
</head>
<body>
    <i class="icon-calender" style="--primary: #17A171"></i>
    <i class="icon-note" style="--primary: #17A171"></i>
</body>
</html>
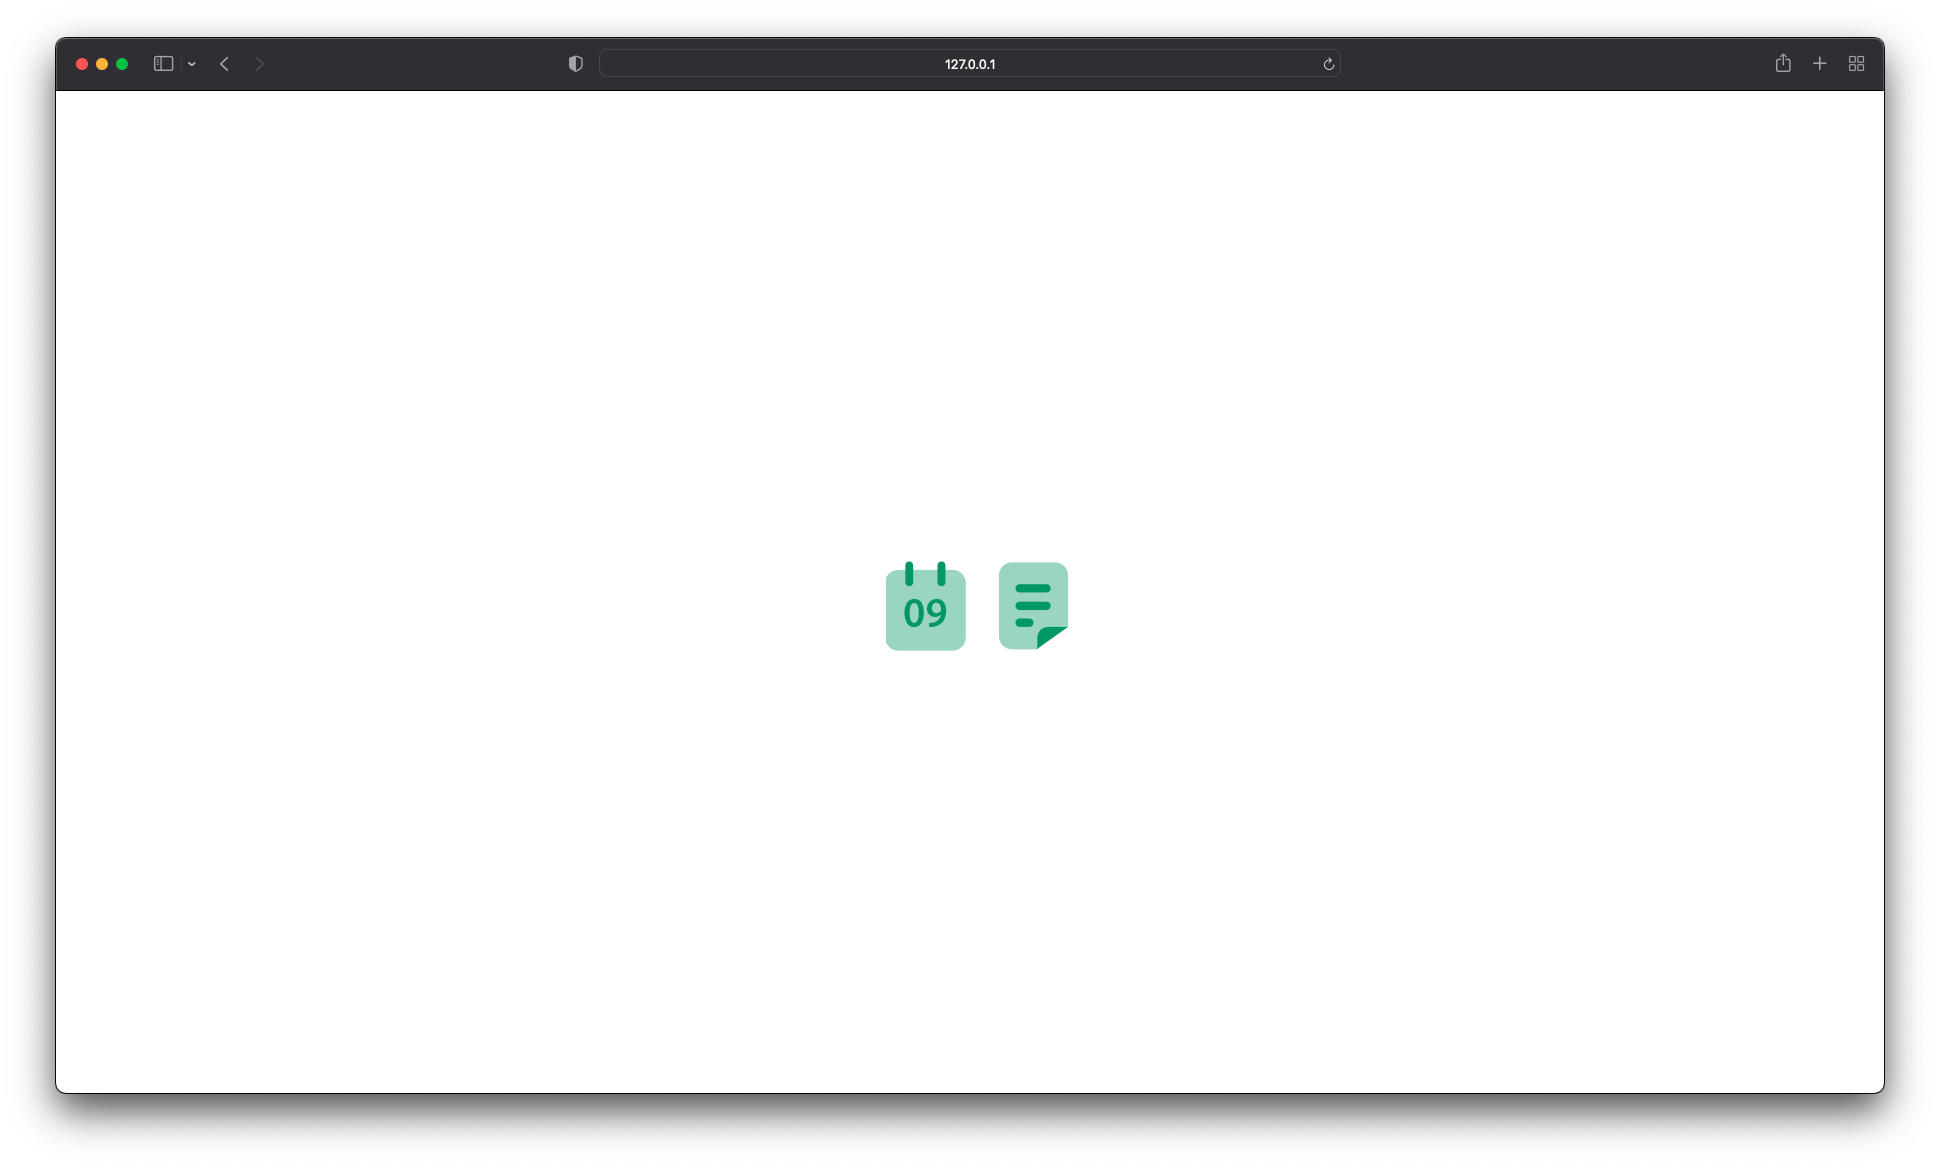
This is the Final preview of our duotone icon font
Summary
In this article, we have created our own duotone icon font using Glyphs App and CSS. We use Illustrator to vectorize the icons, and then use the Glyphs App to generate those icons into a font. By using CSS, we easily achieve the duotone effect.
you can find the full source code from here


